Hello cuties! Over winter break,I got kinda bored! This boredom combined with my neurotic tendencies around midterms meant the inevitable. No, I'm not talking about last minute cramming and writing papers until I find myself hallucinating from lack of sleep. Those habits are much too tedious. That's right, lovelies, I'm talking about crafting!
I love stickers! Who doesn't? They are so fun and pretty, and I like to take some to school with me, to keep me motivated. For example, before math class, I will say to myself "you will pay attention and take good notes, then you get to use a sticker on your sketchbook". This way, I don't get discouraged, because school can be stressful! I got all my stickers together..... but had no where to put them! I needed a safe space for my pretty papers and decorations, but all my pencil cases were fabric, and not waterproof. I couldn't bear if my collection got wet from water damage!
Sadly, I have as much spending money as I have lipstick- a very small amount, and only to be used in very special cases. My mind got working. What's a good way to store stickers? Why, a ziplock of course! But those are so very plain and boring. However, with a little felt and thread, I managed to make a cute little twin stars inspired container- and it's very easy!
Sadly, I have as much spending money as I have lipstick- a very small amount, and only to be used in very special cases. My mind got working. What's a good way to store stickers? Why, a ziplock of course! But those are so very plain and boring. However, with a little felt and thread, I managed to make a cute little twin stars inspired container- and it's very easy!
 |
| Make your own pouch to keep your materials safe! It's really easy! |
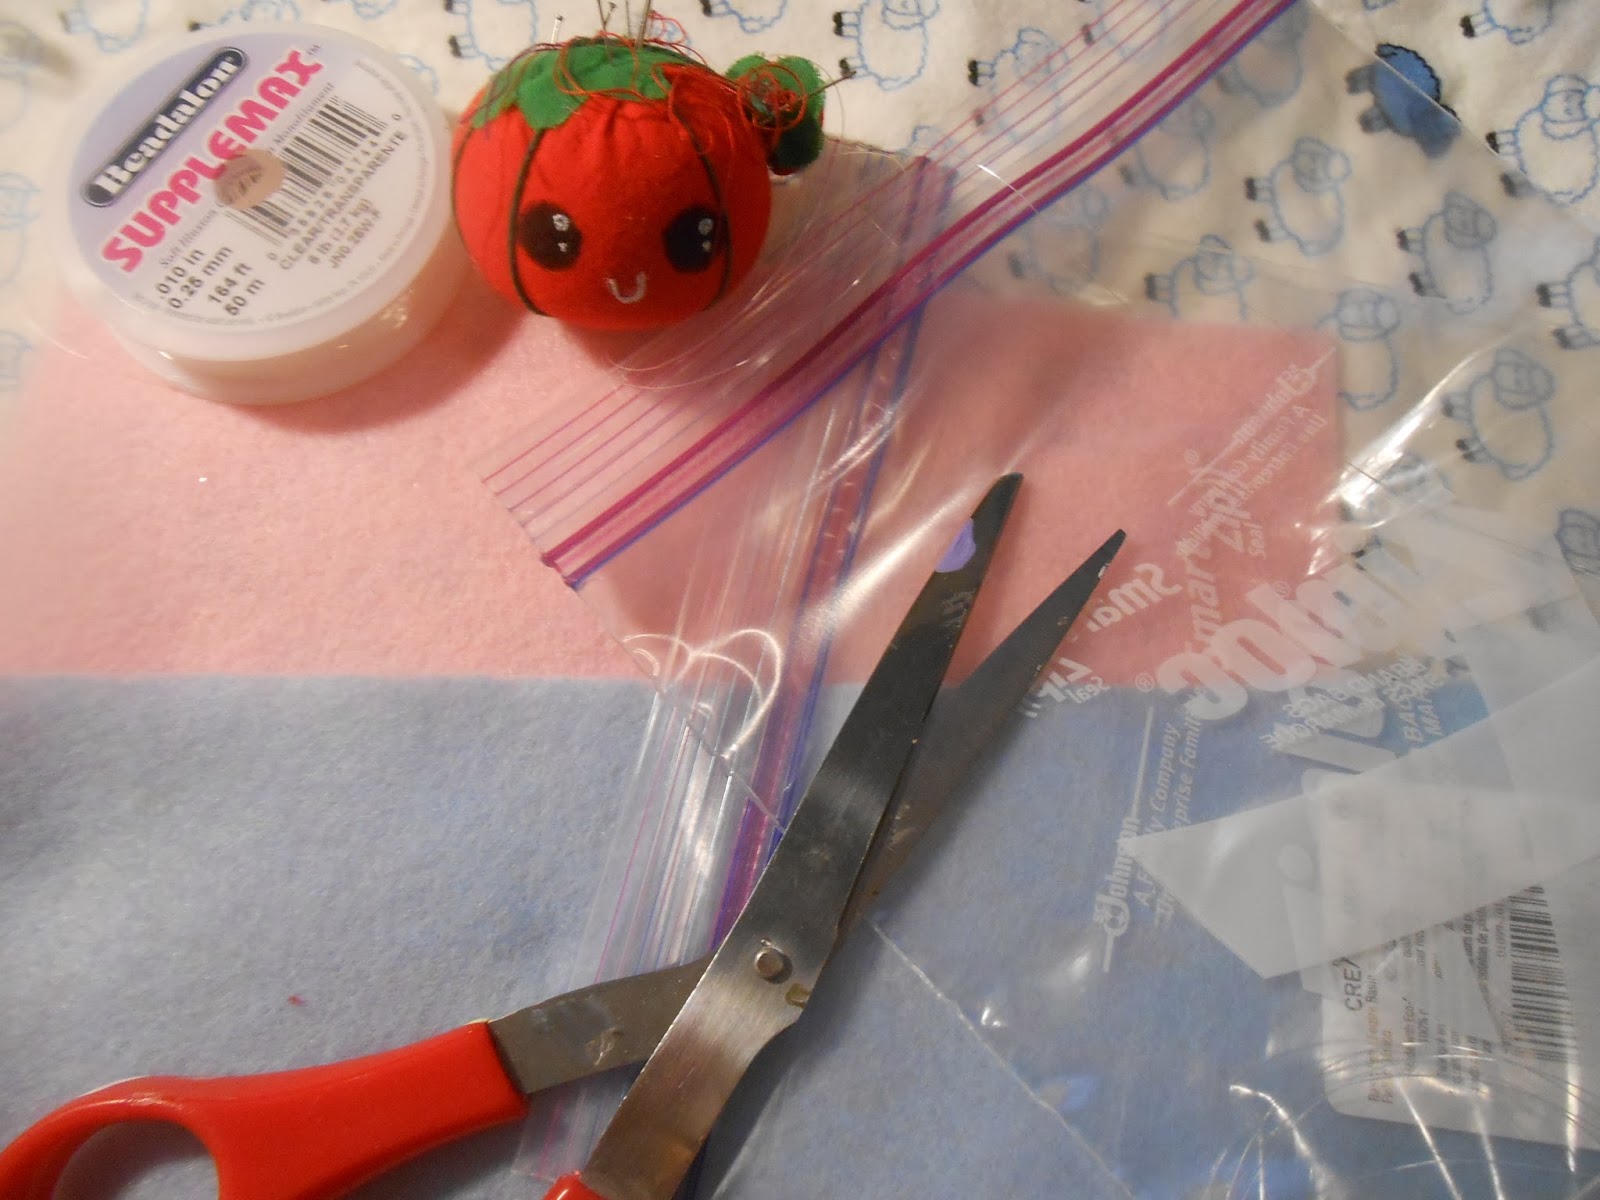
Lets start with materials, shall we?
You will need:

- glue and scotch tape
- a marker and a ruler
- ziploc bags
- felt in pastel colors
- thread
- a pincushion with pins and needles
- scissors
- this template -->
- http://s32.photobucket.com/user/amusealittlemuse/media-full//littletwinstarscraft_zps44f0f96a.jpg.html
 Now, I did a lot of experimenting here, so in some of the photos, there are some slight mistakes, like too many lines drawn on the plastic bags, ect. I only had very small bags to work with, so I had to use two and combine them, and I'll show you how to do that. However, this is much easier if you have a larger bag. You can just snip off the bottom if it's too deep, because we will be sewing that anyways. Now let's get started!
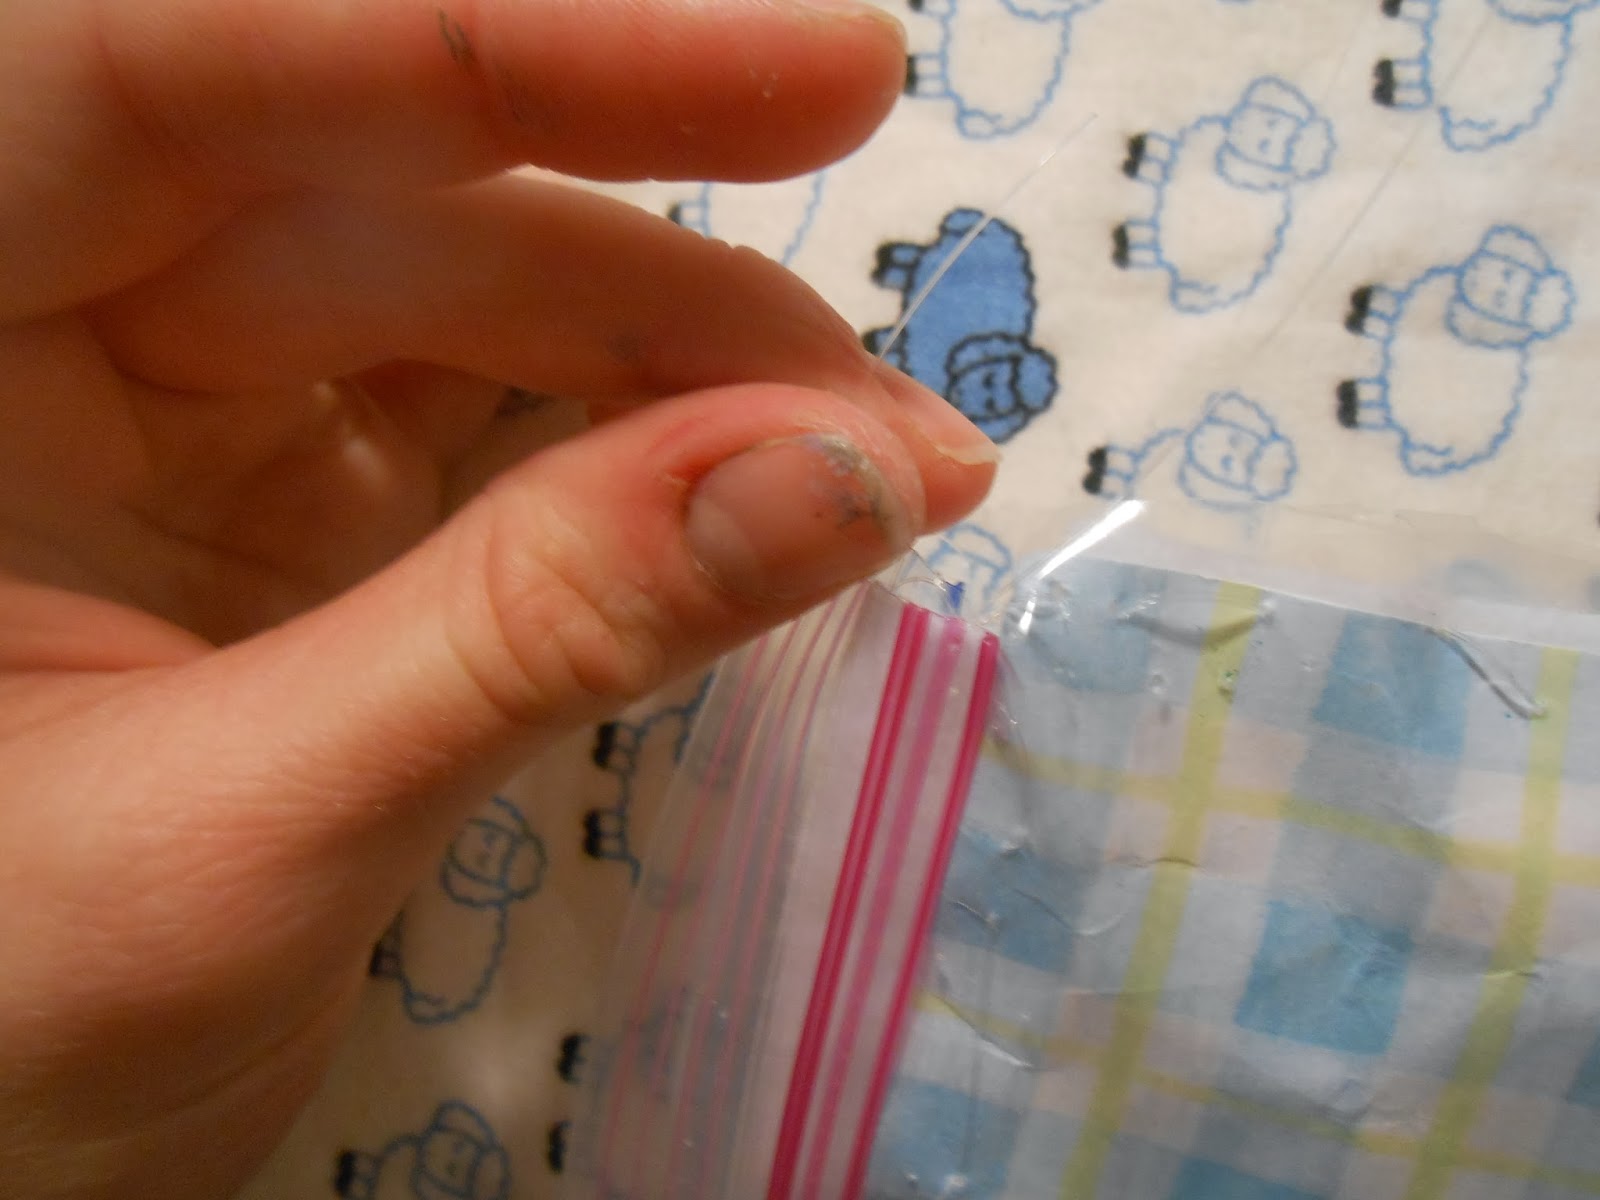
First,you need to get out your plastic bag(s).

Lay the bags on top of each other to determine what shape and size you want your pouch to be. I'll be making a pouch that's around 10 inches long. Once you have that figured out, make a line on the first bag underneath to show where the second one will lay on top of it, like so.

 Here, I put three lines to help you see the difference.
The line on the very left is on the first bag, underneath. That is just for show.
The line in the middle, next to the two, shows us where the bags line up. The last line is also just for show because these bags are clear and hard to photograph.
I have numbered these bags, so you understand what I mean by first and second bags. This is very important.
Next, line up your ruler on top of the bottom of both bags, and draw a straight line. This line should be about one to two inches above the bottom. Use this as a guide and cut along this line.
 |
| Snip Snip Snip. |

A lot of this next part is me showing you how to combine two bags to make a nice, clutch sized one. This involves a lot of measuring and careful cutting, but if you have a larger bag, you can just skip to this step!

These are identical, with extra lines drawn so they are easier to see in the photographs.
 Remember how I said that the numbers were very important? It was probably a trap, because, as you can see, you need to cut along the seams next.
So these arent even bags one and two. They just become loose squares of plastic with lines.
The numbers are now completely irrelevant. Promise. Maybe. You know what, let's go to the next step.
 |
| Can't trash the pointless plastic? Click the link, and let it go. |
Trash the part that you don't need. Unless you're emotionally attached to it or sumfin. In which case, I guess you could keep it. But you really need to learn to let things go.

Wow! Look! The numbers are still relevant! This is the kind of stuff that happens when you're part magical girl. Miracles just shoot outta your fingertips tips like dandruff from that danny kid on the disney channel. Gross.
Anyways, youre gonna tape this baby up, on both sides. make sure to get the top- but dont tape the actual zipper! Repeat with the blue side n its corresponding part.

What you end up with are two really rad rectangle zippery things. Take the blue zipper plastic thing shabobber and place it with the zipper facing down, and put some felt of the same dimentions on top. Then place your rad red zippery thing on top with the zipper facing up!!

Now pin the bottoms together like so


Next you wanna stich that baby up! Along the pins, anyways.
When you're done, you should be able to do this!


 To make everything super durable, sew in a half circle, down the left side, across the bottom, and up the right! Make sure your knot is secure!
Now for the top. We are going to make a big loop on the edge, sewing just under the zipper. Make your first knot/start your first stitch under the red zipper, and finish that stitch under the blue zipper.


See, I find the clear side to be rather boring, so I'm going to sew on some paper as well, but that can move around too much, and it would have caused problems if i sewed it to the bottom. So next we will just glue on some pretty paper to tack it down
Now we have a total of four layers! Time to stitch the sides!
To make everything super durable, sew in a half circle, down the left side, across the bottom, and up the right! Make sure your knot is secure!Next you will be sewing a straight line under the blue zipper, connecting theblue plastic sheet with the felt.
When you reach the end, connect the blue and red sudes through a stitch and then sew the paper on the red side!
Tie a knot to secure
Turn inside out!!
Now it's a real pouch! Use this pattern and cut out the felt pieces
http://s32.photobucket.com/user/amusealittlemuse/media-full//littletwinstarscraft_zps44f0f96a.jpg.html
Be careful with the hands! They are tricky!
Start to glue the pieces down and decorate as you go~
Tada!! A beautiful pouch
|
No comments:
Post a Comment